Back again, back again on my upcycle - recycle - DIY kick.
I had two friends who's birthday was coming up in January. So I started to plan for their birthday presents during the holidays. I almost feel guilty posting this one, as it's so easy literally anyone with a basic sewing knowledge can do it. This is another omnipresent project on Pinterest. So I am definitely not taking credit for coming up with the idea. This is just a tutorial on how I did it.
I went to ARC thrift store and found two sweaters that were in both good conditions and that would complement each other. I paid $2.50 each (50% off on Saturdays).


You may recognize the cardigan from my previous tutorial "Boot Socks From Thrifted Sweater" yes, I made two projects using one sweater. How sweet! I also found 2 pillows that had good stuffing and that would fit the size of my sweaters (I got them for less than $2 each). I threw everything in the wash, sweaters, pillows and covers. Thrifted is cheap but always needs a good scrub down. Here they are, all shiny and new. Almost. LOL


Next I removed the pillow covers, turned them inside out and used them as a template to cut the fabric the correct size. Easy does it.


At this point (depending on fabric) one could pin the fabric in place or just sew it hands free.


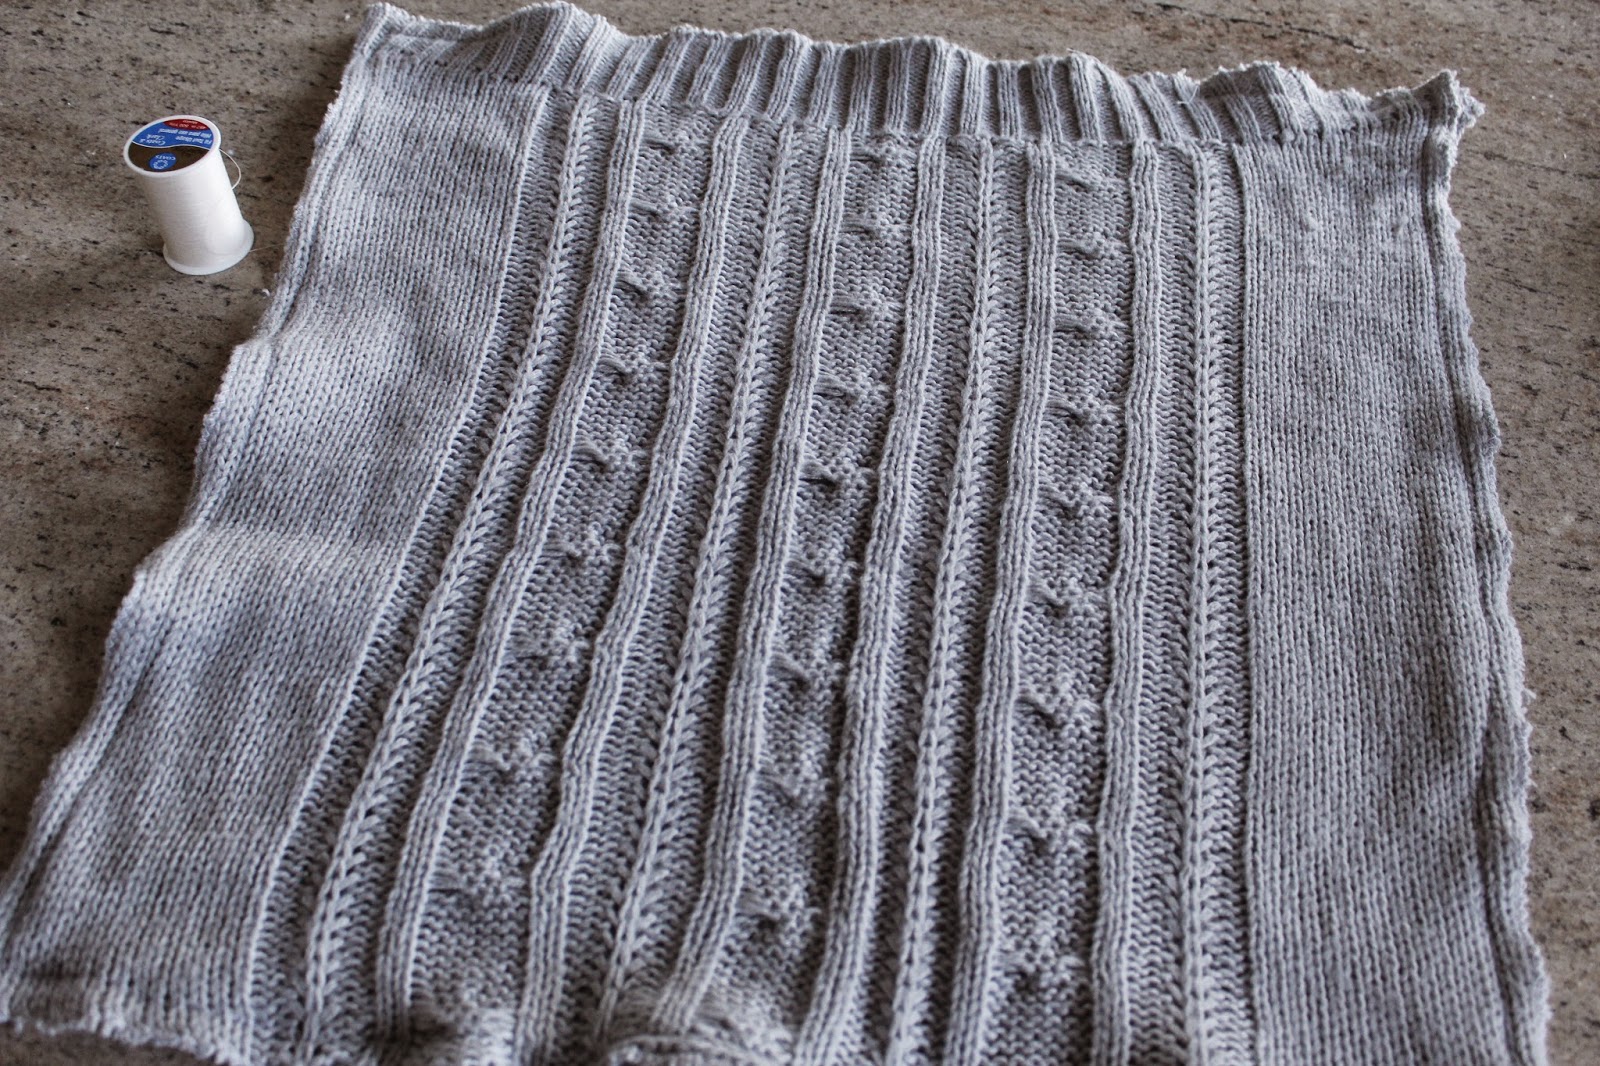
Using cable knit or loose needle point sweater requires some edging. I edged using a zig-zag stitch. I had to be very careful and feed the sweater into the machine to avoid curling as much as possible. I tried to get a serger for this through Craigslist, but the lady sold it the morning I was going to pick it up. UGH. How disappointing. Craigslisters are a mixed box of chocolate :(

After edging I stitched my basic shape with a straight stitch.

On the cardigan pillow I stitched a complete square (the buttons act as an entry point) but i chose to leave a gap on one side for the cable knit sweater (to use as an entry point for the filling).

Here is a close up showing how the straight stitch stops at the top right corner.

At this point I turned the sweater cases inside out (here my partial stitching on the bottom of the pillow is more visible).

I stuffed the cases with the pillow inserts and that's all she wrote as far as the cardigan pillow. That one was super easy and quick. Truly just sewing a square around the fabric. The cable knit pillow-cover took a bit more time.

I pinched the fabric from the opening between two fingers...

...and hand stitched the opening close with a loop like stitch.

The stitching is nearly invisible using a matching thread.

I added a made with love charm, just for fun. I played around a bit to decide on the placement.

I settled for the top right corner and secured it with a simple stitch.

Looking pretty nice I think :-)

And these are the finished pillows next to each other. I like how they complement one another with a smooth vs. textured look and with opposite shapes. They will look much better on S. sofa. I chose light colored sweaters so they will have more impact and pop more on her dark brown leather sectional. I think the smoothness of the leather will juxtapose well with the comfy sweater fabrics and will complement each other really nicely.

I hope she enjoys them. I had a lot of fun making them.
The End ^__^
No comments:
Post a Comment