If you know me, you know that I am totally addicted to my two cats: Smokey Bones & Felis Lynx Rufus. I always try to improve their environment, and make up for the fact that I can't let them out here in Colorado. I have been reading a whole lot about cat puzzles lately, and on the web I saw many viable commercial options that could be easily made into a do-it-yourself project. So off I went, to get some supplies, and here is the result of my efforts. Smokey is modeling the result for you here.
Supplies List:
- One (or more) disposable food containers
- Utility knife
- VERY sharp scissors
- Black marker
- Rubbing alcohol
- Lighter
- Small rubber adhesive casters
- Small cat toys/balls (at least one with a bell - for stimulating sounds)
- Cat kibble or treats
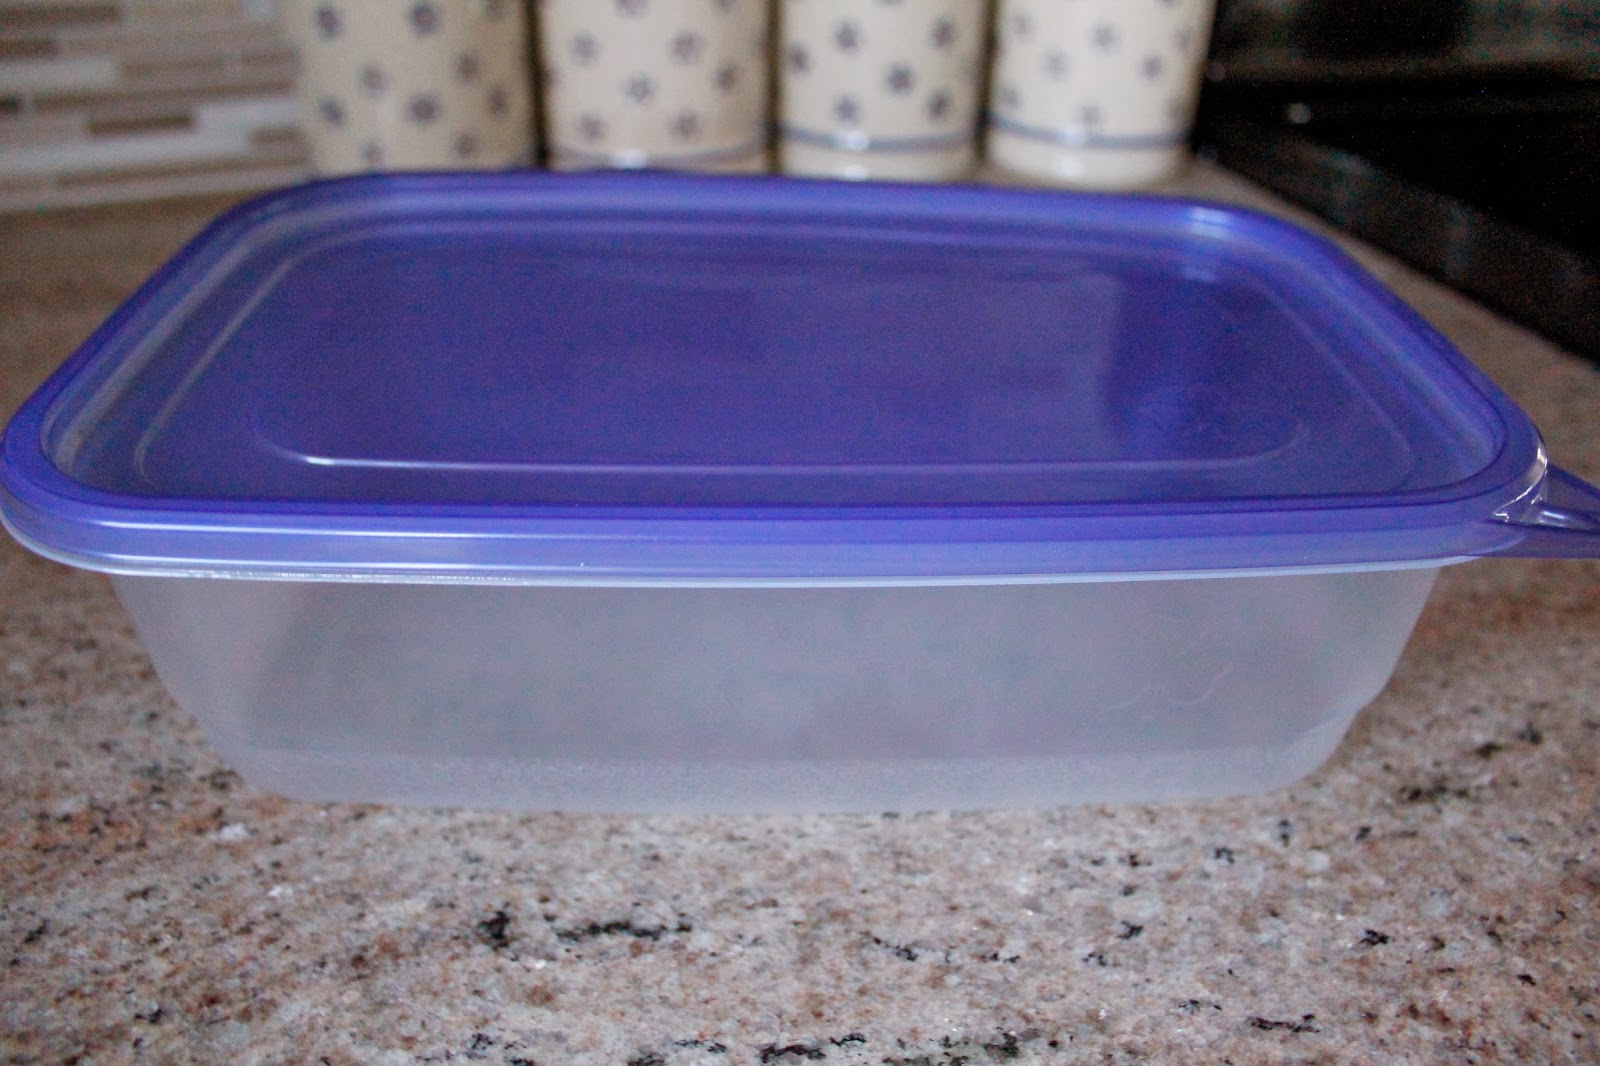
Here is my starting piece. A food container of about 9½ cups capacity. A larger size would be nice, but smaller than this wouldn't probably work. I purchased a pack of 2 at King Sooper (Kroger brand) on sale for $1.99
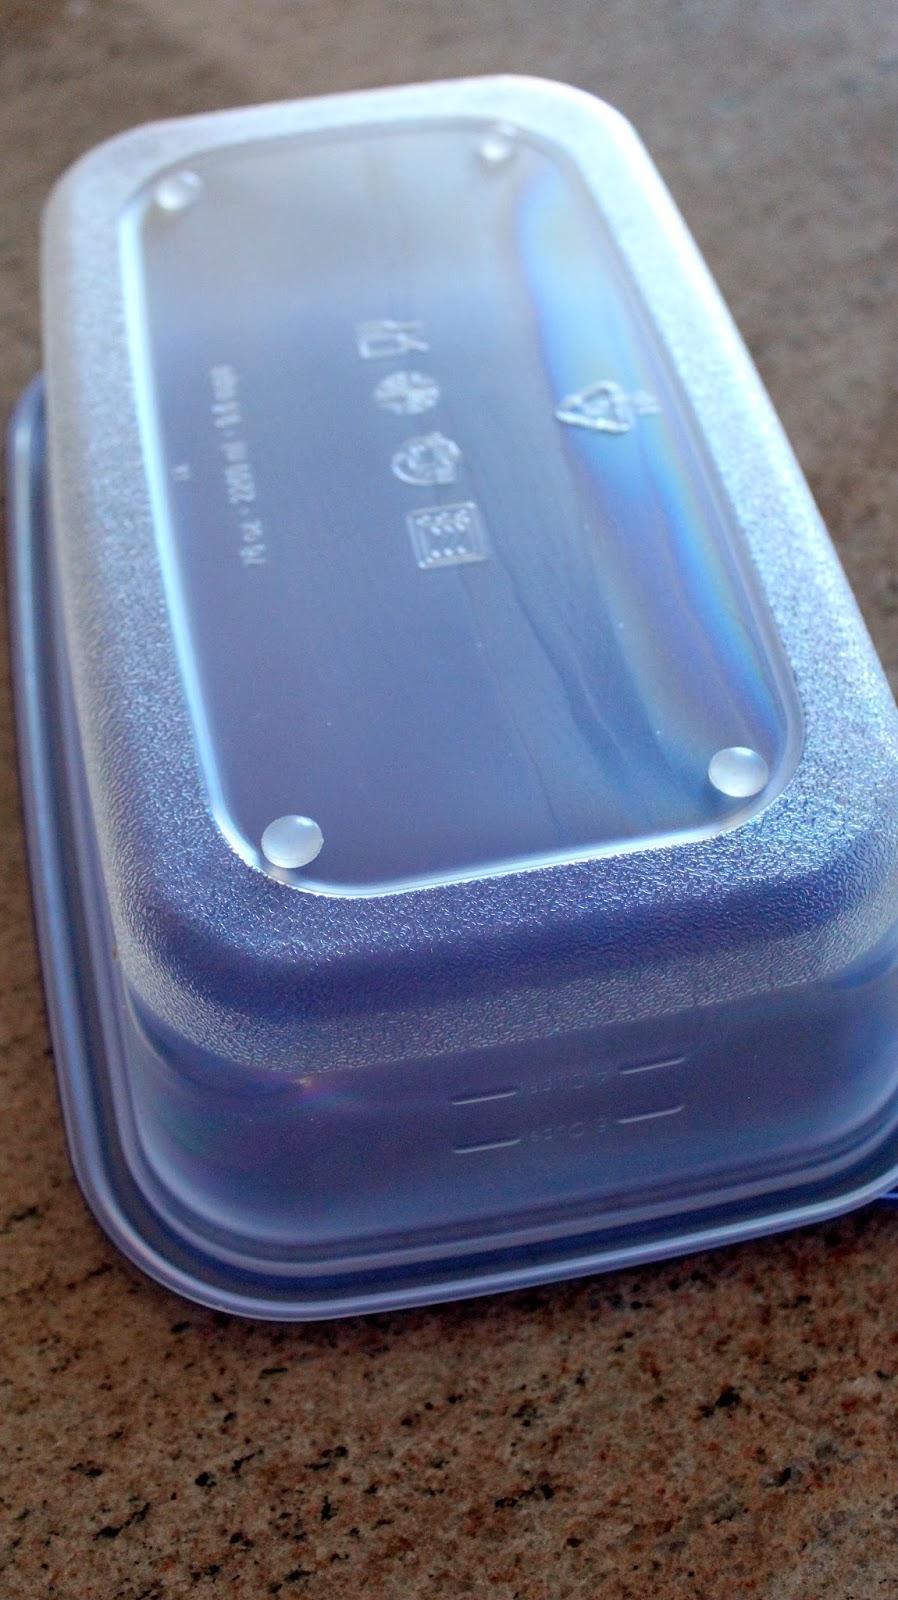
I flipped the container upside down, and I secured some rubber adhesive casters - to help stabilize the puzzle on my hardwood floors.
I used shot-glasses to draw my shapes onto the lid with a black marker.

I put the lid onto a wooden cutting board, and I scored X shapes inside my circles with an x-acto knife. I used these openings to insert the scissors and cut out the circles.

After cutting all my openings, I removed the leftover black marker with some rubbing alcohol.
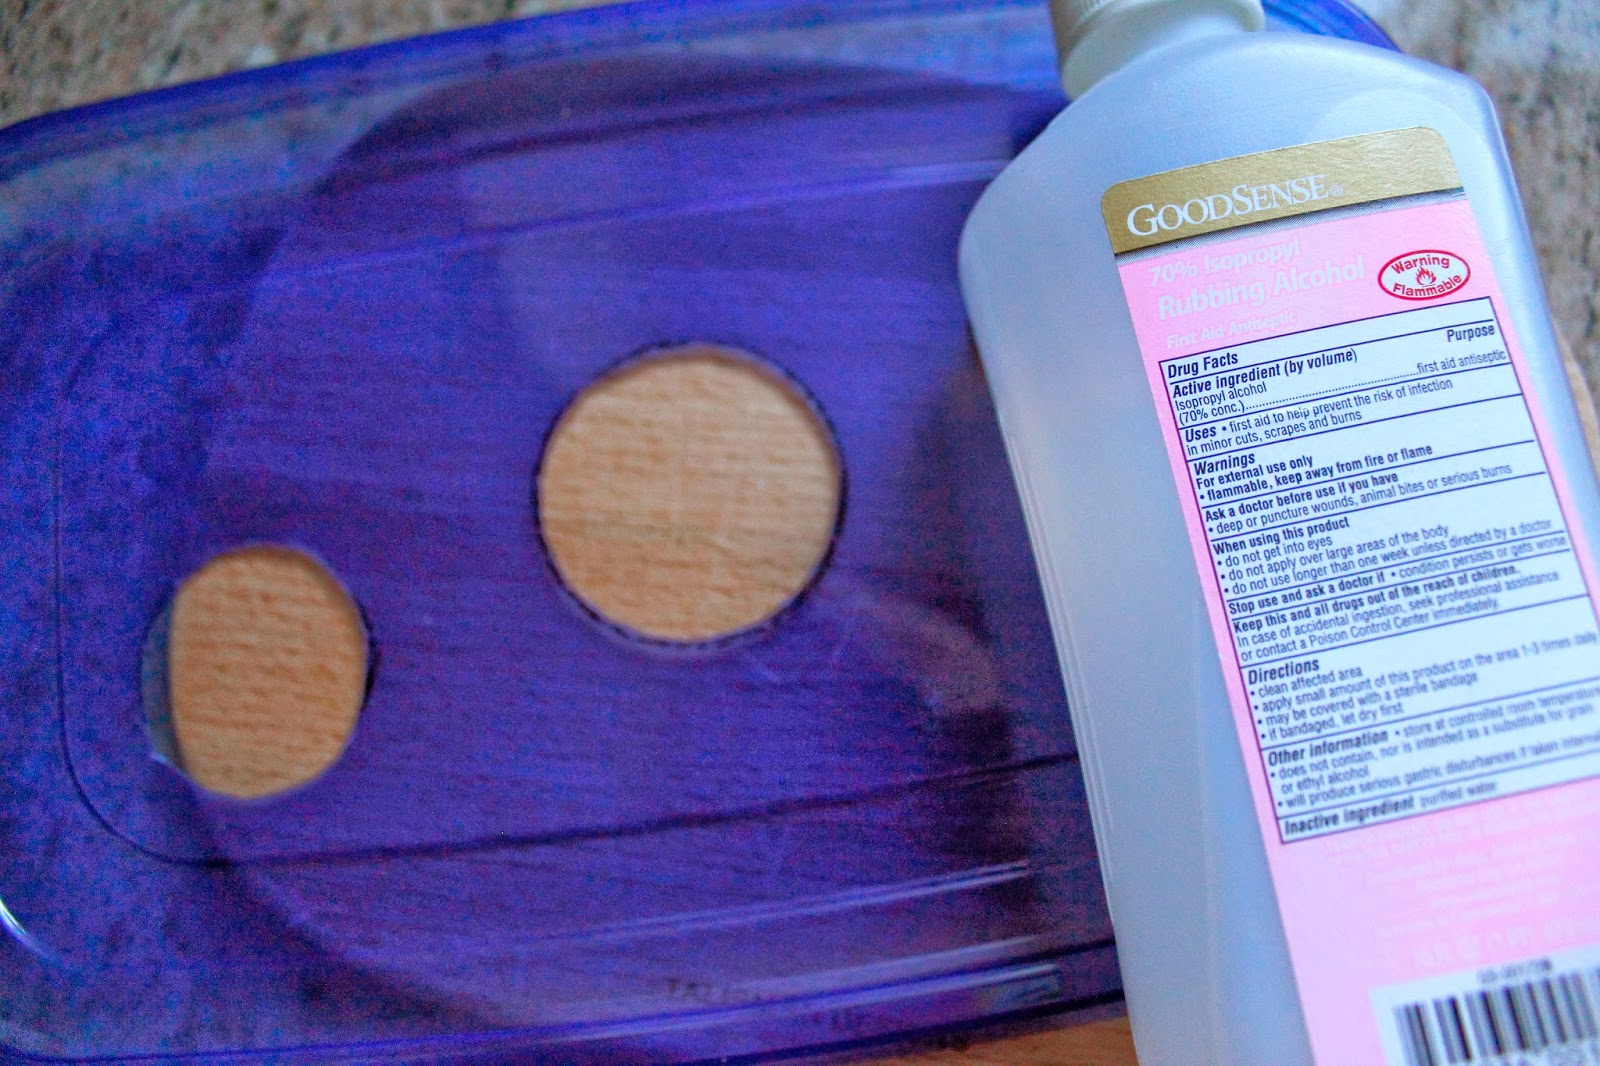
I then burnt the edges, of the openings, to smooth them out (paws and jagged edges don't go together!)

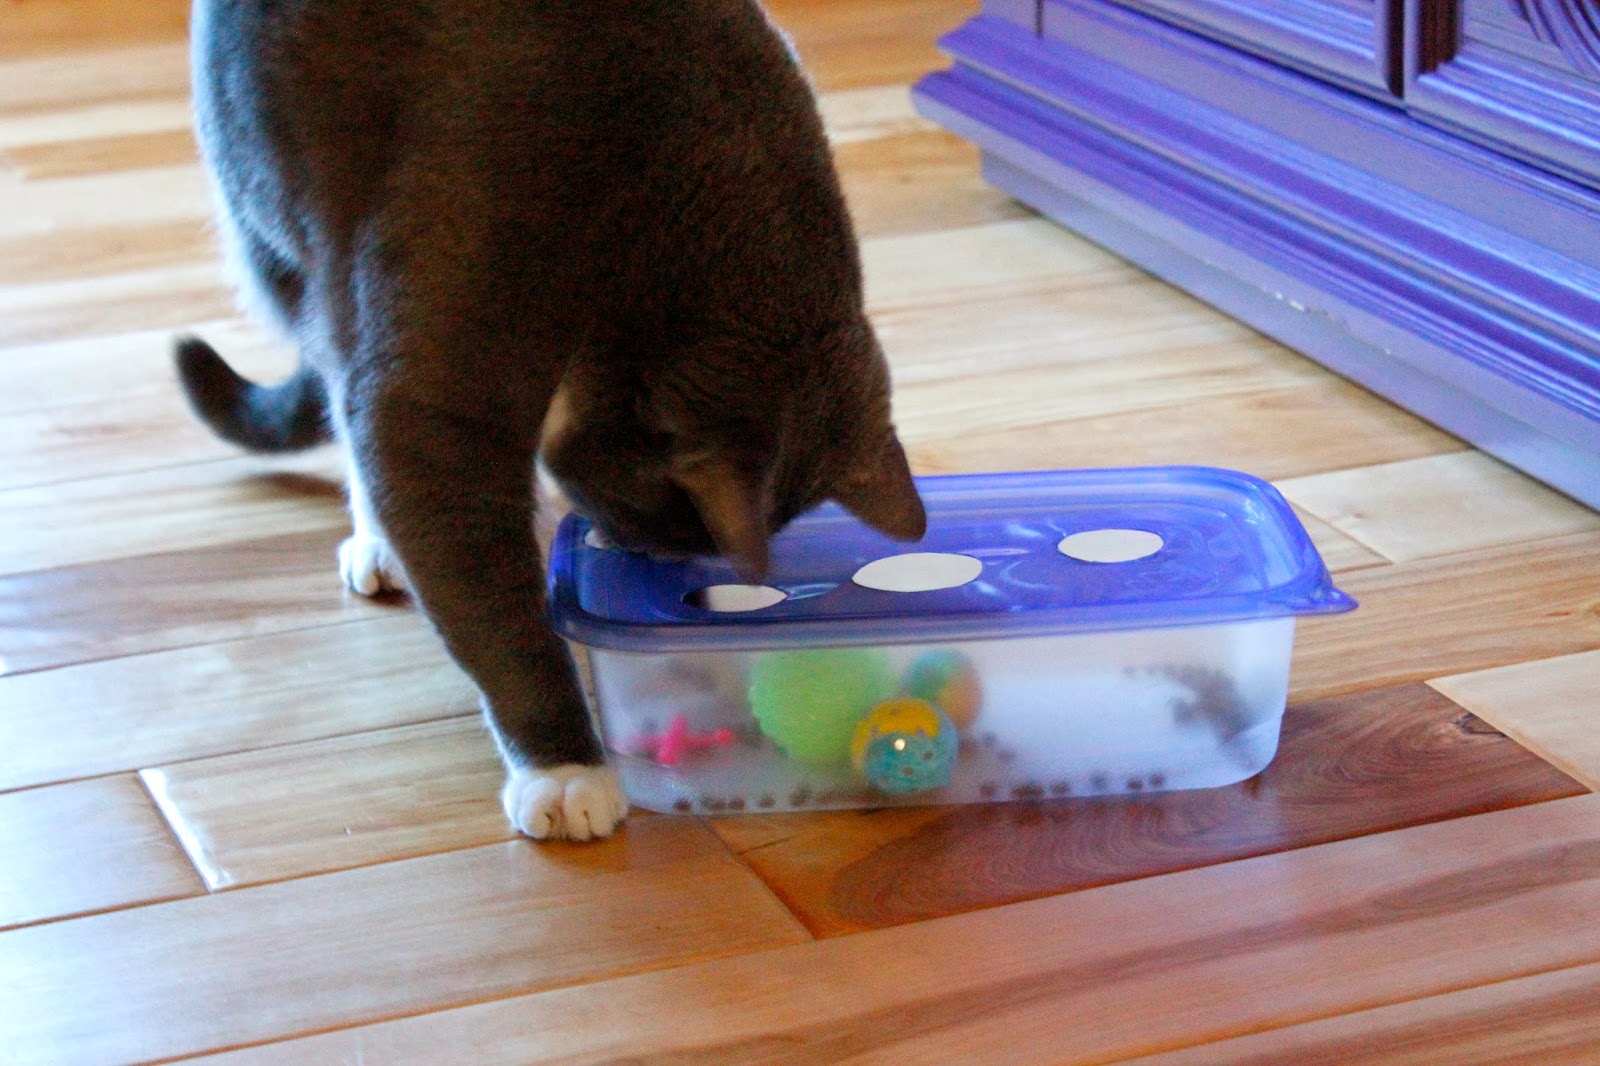
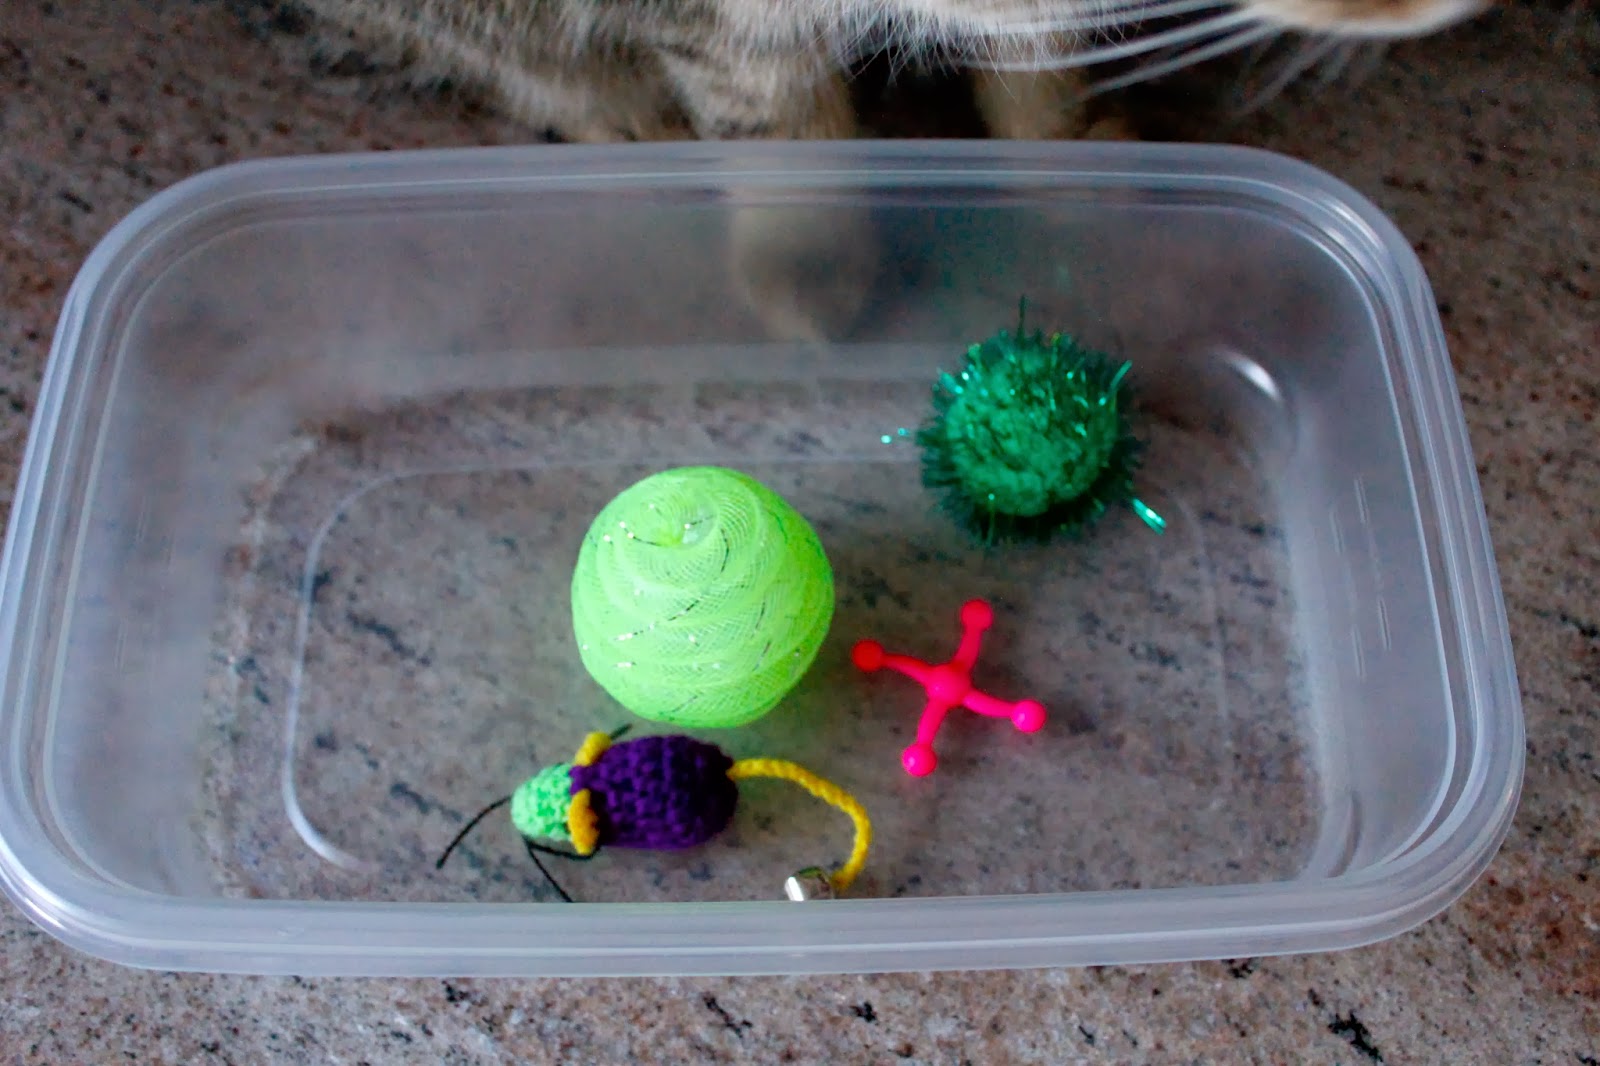
At this point I gathered some old toys and put them into the container. Rufus is supervising the work, to make sure I do it right! You don't need to buy toys for this project. The point is to make it affordable! So you can use old toys you already own, or make your own - with found objects. You can use the plastic safety ring from a milk jug, you can crumple-up some paper and make paper balls, or you can even use buttons or items that your cat naturally plays with. I would advise to have a bell in the box...just for extra auditory stimulation. I used two bells, one is inside the larger lime ball, and one is attached to the mouse's tail.
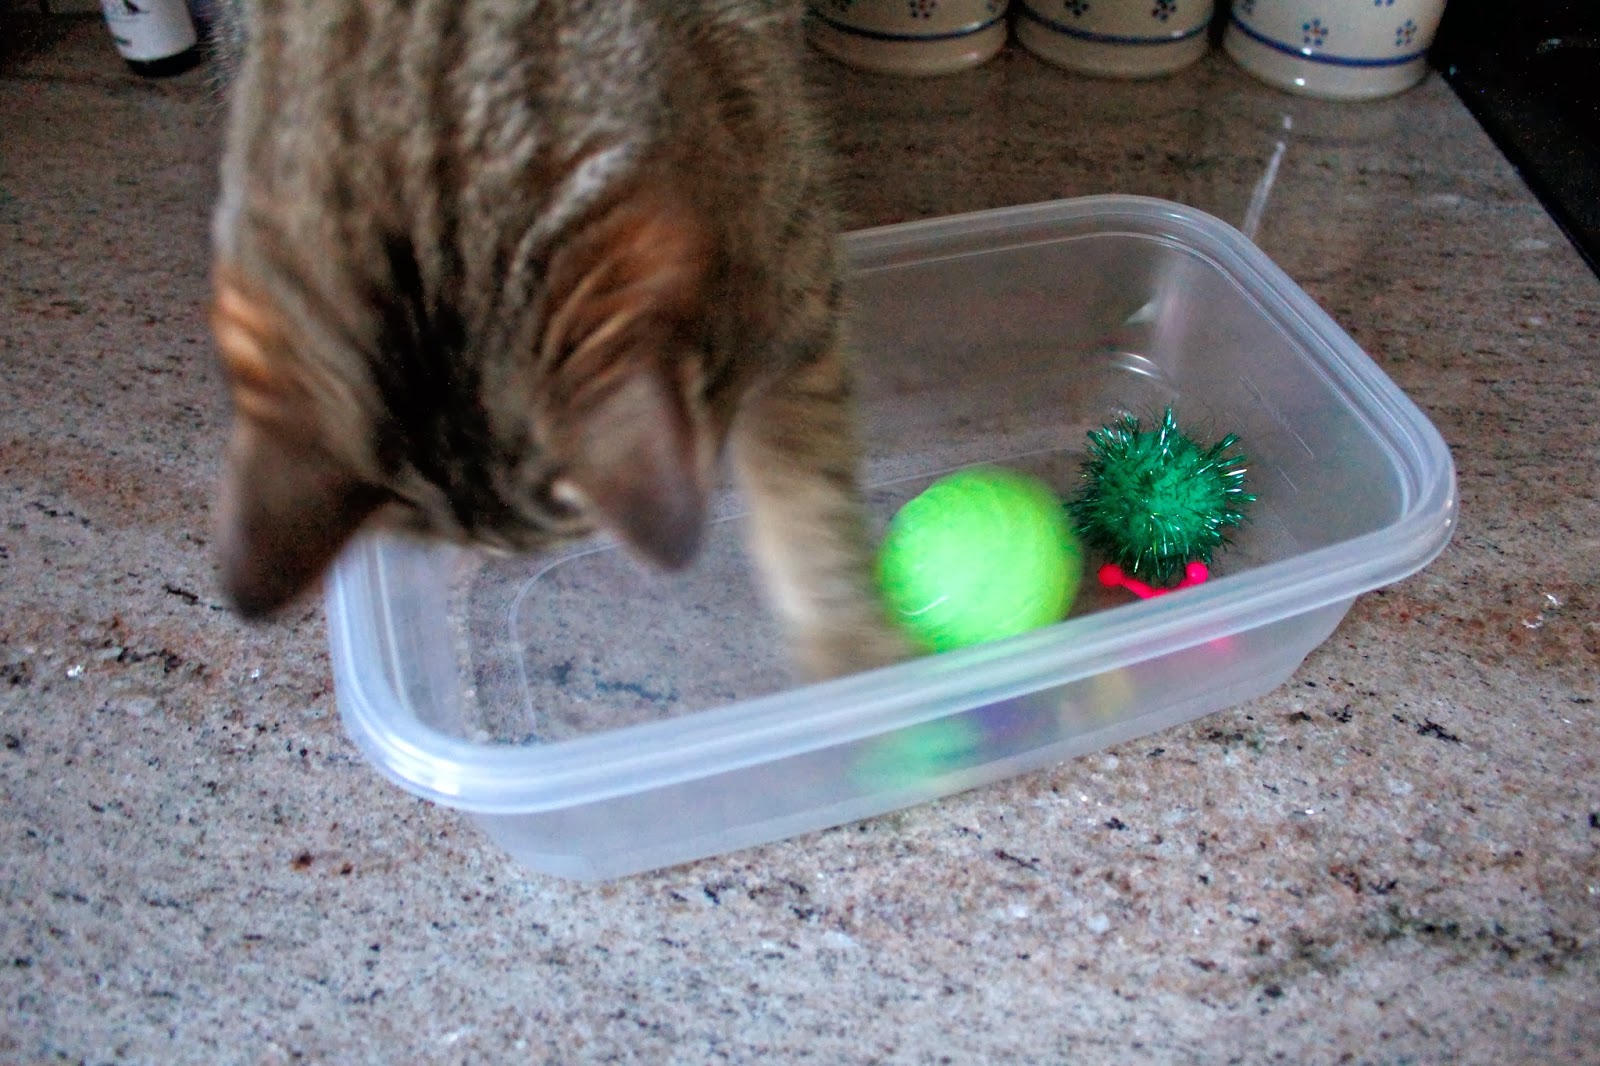
Here is the Quality Control Inspector making sure all is kosher and ready to go!
At this point I added some treats to the toy-mix...

...I put the lid on the container, and watched the cats gather round to inspect it! ^__^
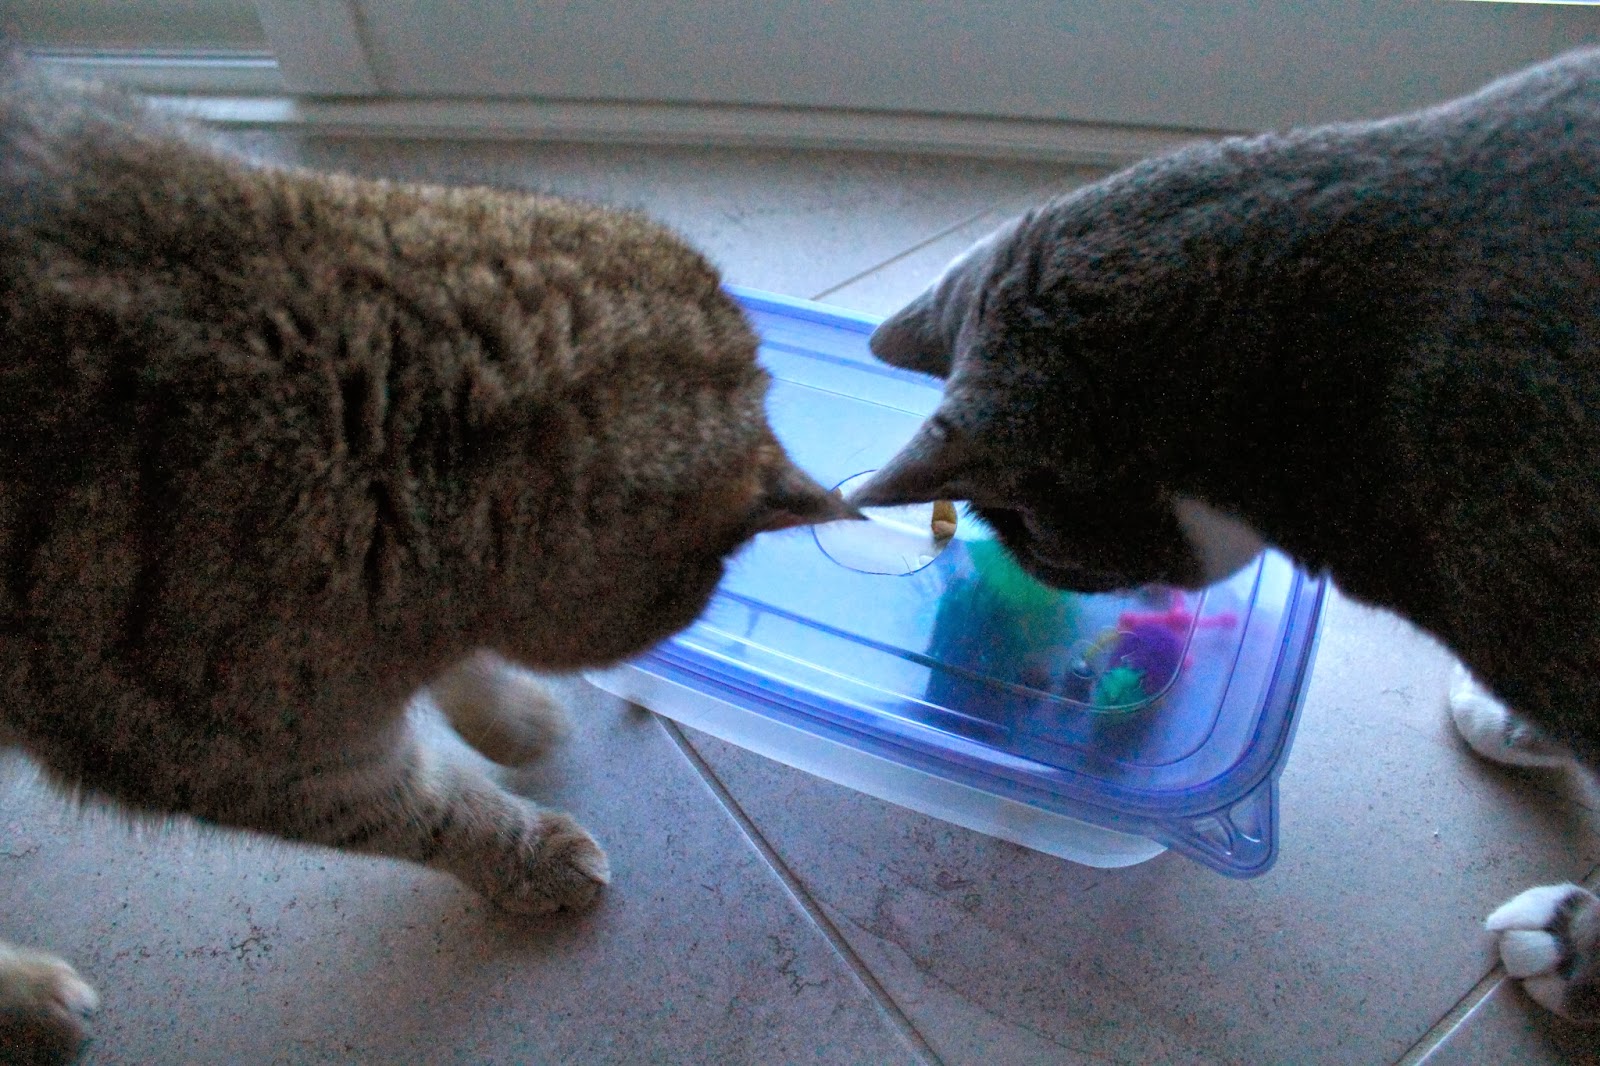
Smokey Bones said: "I can smell it! But where is it? Oh, there! I see it!"

The most rewarding part? I sat down, relaxed, and watched the show! LOL
It may take a while for them to figure it out, but that's part of the point! These type of puzzles, feed into their primordial hunting instinct. They also get a great deal of satisfaction when they do get a treat out, it's hilarious to watch when Smokey succeeds! LOL.

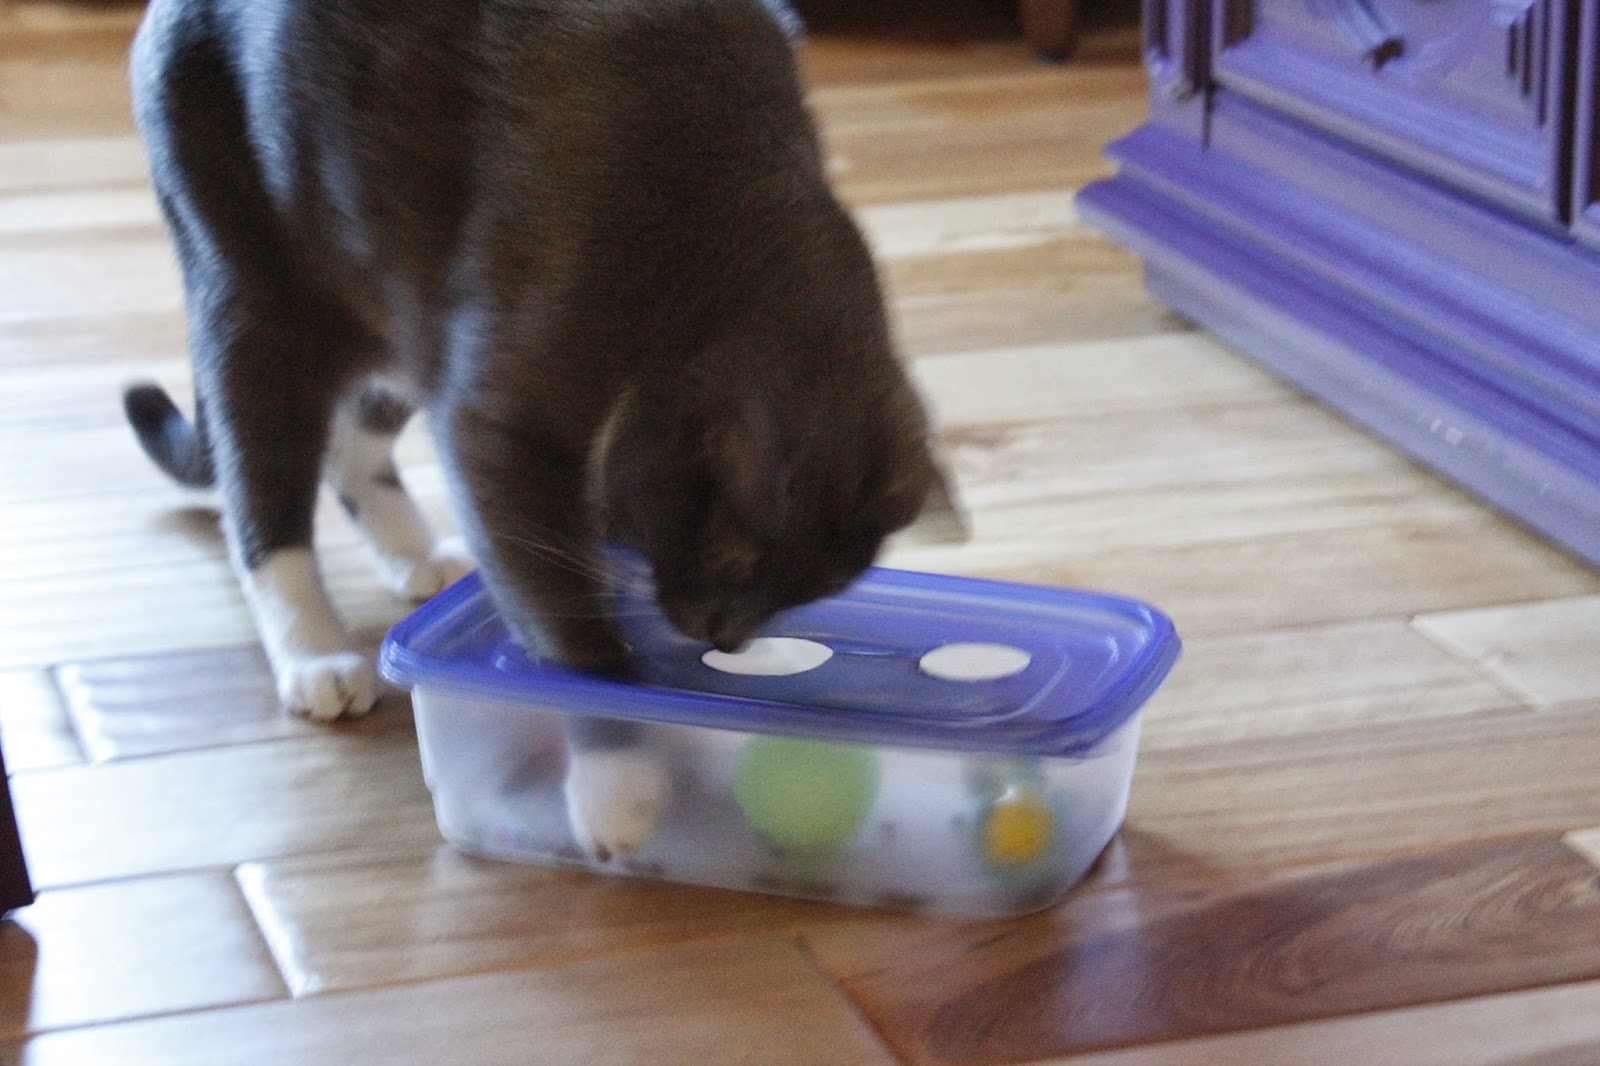
I added a corner opening that same day. I quickly realized that the 3 circles alone, may be too challenging for beginners. I wanted them to be challenged, but not frustrated because they could not 'catch' any prey at all. I feared that if they got frustrated, they would abandon the idea altogether.

I also immediately made a second puzzle box, to ensure that one cat is not hogging it...leaving the other one to merely watch from a distance. I have since used regular kibble in the box so I can use more than a few pieces and they can play longer (treats are very caloric and I try to only feed 2-3 a day per cat).
This is an easy project for anyone, and a very interactive toy that will help to keep the cats entertained while I am gone. It can also be a very effective tool for feeding fast eaters, or for overweight kittycats. It's just so versatile and so easy to make. I can't think of a reason why ANYONE should not make one...or many for their fur babies!
I hope you and your feline companion enjoyed this tutorial! Team Cat Mojo!