A Filing Cabinet Tale - From Rags To Riches
This is the story of 2 filing cabinets, that shrank down to 1 and got a makeover! ^__^

This past winter my friend P. was trying to get rid of two identical filing cabinets. My friend S. and I were both in need of some organizational storage, so I told P. we'd love to have them and give them a new home. Unfortunately, it took FOREVER for me to pick them up! When I finally got them, I realized that they were in pretty bad shape, so I conferred with S. to see what to do about it. Serendipity wanted that her new home had a built in filing cabinet in the office already, so she let me have both! Yeay for generous friends! :)
My DH helped me out by gathering all the best parts from both, to make one solid cabinet, and also spent hours removing all the goo and tape from it! It took a long time for me to work on it, mainly because I was not sure how I wanted it to look like. I scoured the web in search of inspiration and was overwhelmed by the choices. In the end I settled for white paint (again) and contact paper (AGAIN! I know, kinda boring -__-) and opted for a clean look that will work well if I choose to move this bad boy around the house.
So this is what I started with. One very yellow filing cabinet, wiped down and goo removed. In the background, you can see his sad twin...

...that sadly will meet the scrap yard soon. I do hate to waist, but he cannot be salvaged. He's got holes on the top, is missing a lock and its drawers are a bit wonky.
Please take your time to say goodbye to Mr. Reject. He will be recycled soon.

Back to my project. I started by removing the hardware. The handles were easy--flat head screws. To remove the tags hardware, I had to push simultaneously on 2 small 'levers' inside the drawers.

Then I removed the drawers. Small stop latches can be found toward the back of the drawers, pulling those latches inward, allows the drawers to slide all the way out.

I sanded the whole cabinet with fine grit sandpaper, then i wiped it down with a wet rag, and I waited a few minutes for it to dry (more like a minute in today's heat).

Then I proceeded to prime with my faithful Zinser bullseye primer (spray). I primed the fronts of the drawers too as I wanted to get rid of the yellow.

Then I waited a few hours for the primer to dry, and I sprayed it with several thin coats of Krylon Fusion white paint (oops, I forgot to take a photo of that part). I used Krylon for my cat chest and I was impressed by the control of its nozzle!
 |
| Photo courtesy of Walmart.com |
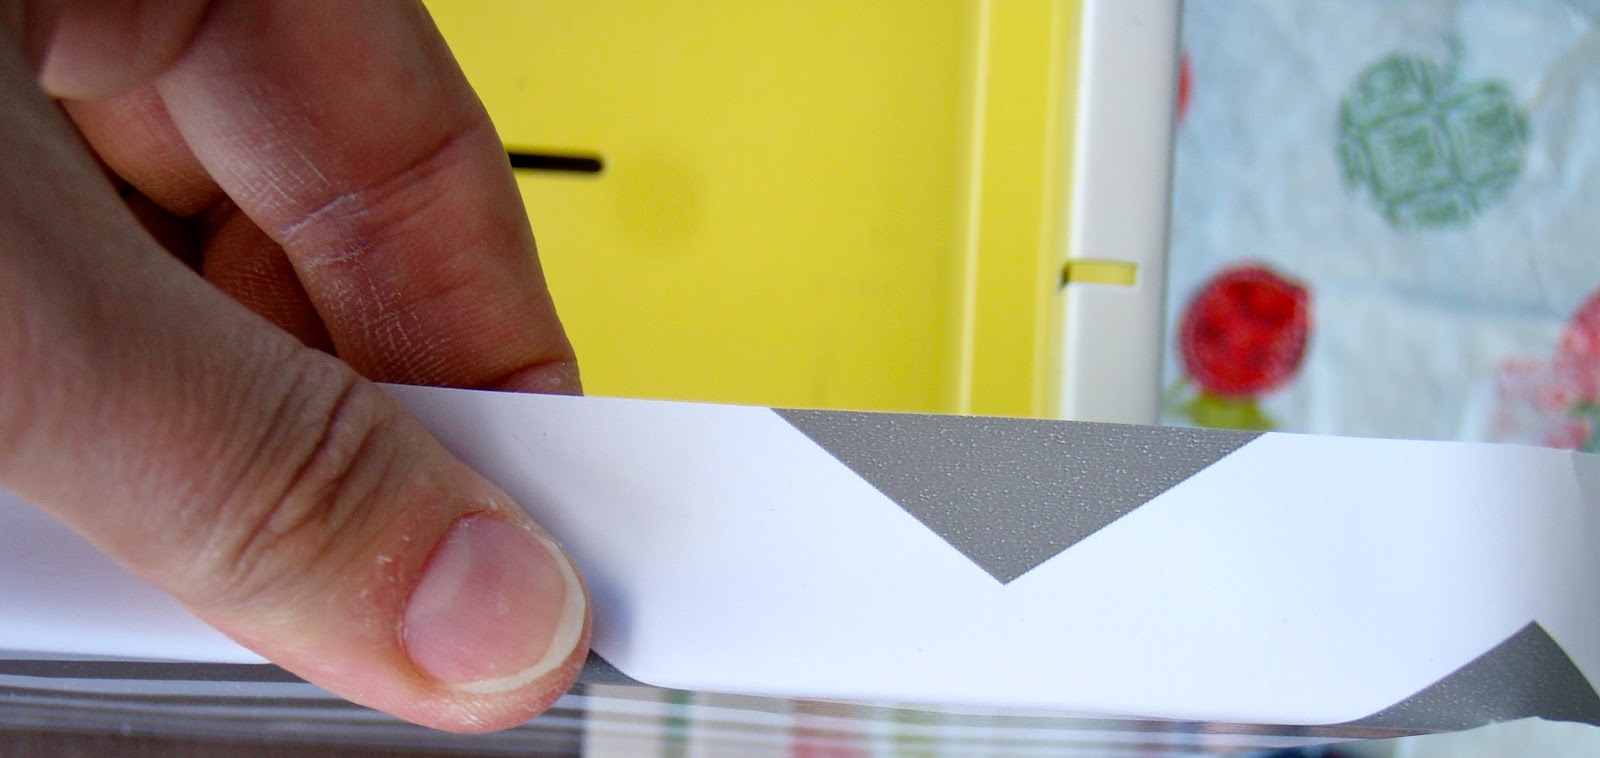
A few hours later the piece was completely dry. I am telling you, nothing like the desert wind to speed up a painting job! So I got to work with the drawer's facings. I cut my contact paper to size and started adhering it. If you want more tips about how to work with contact paper just check my humidifier tutorial :)

I cut slits at the corners...

...to allow for neat folding.

Then I trimmed off the excess...

...folded the paper on the top of the drawer front...
...and then again inwards...

...and trimmed the excess.

Here is a close up of the corner. Not perfect but neat enough.

At this point I cut out the slits for the tag hardware and for the handles.

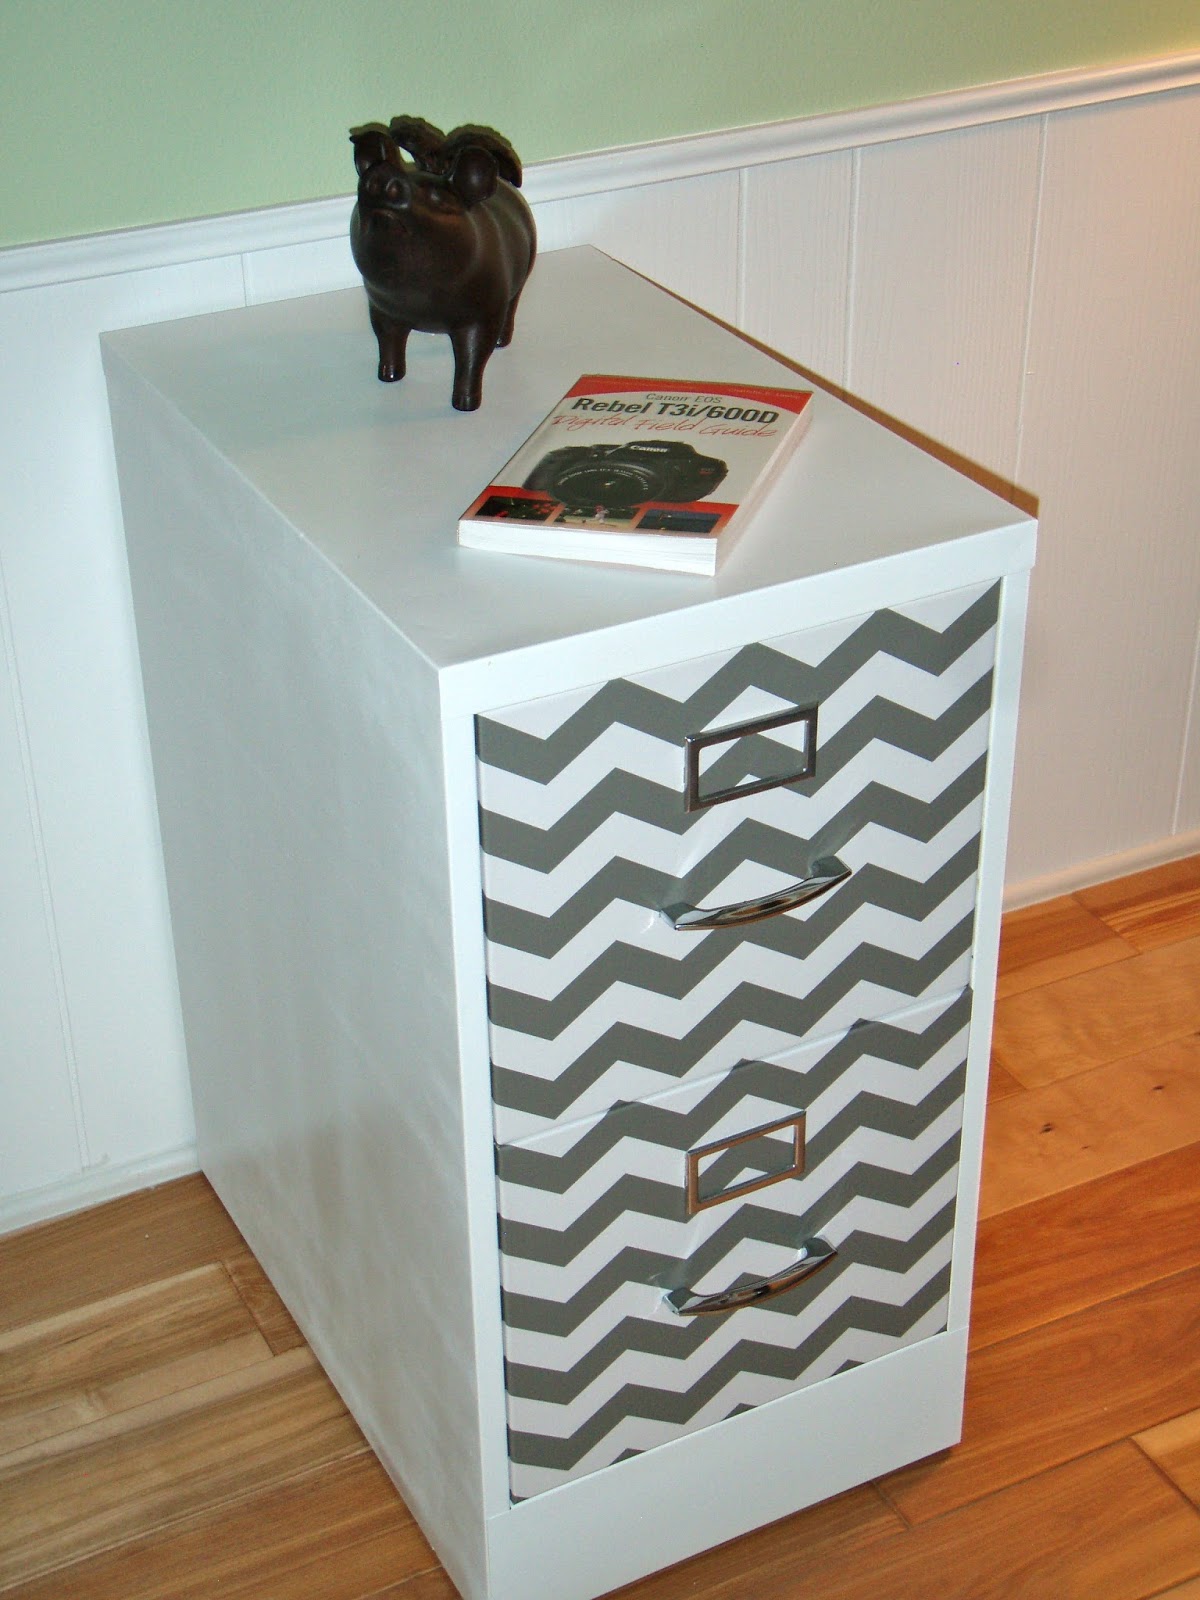
I put my hardware back on and...et voila'! I really like the pop of color inside the drawers!

If you are wondering what the best way to catch a cat is, may I suggest using a filing cabinet?

Smokey Bones is saying: "Is that REALLY a flying pig?"
Yes it is! :))

Overall I think it turned out ok. I only wish the finish was smoother. That may have to do with my choice of primer over a metal surface, not sure. I may have to experiment with other primers if I ever paint anything metal again. But it's cute enough for me and, besides supplies, it was free!
That's the best price of all!

Thanks go out to both P. and S. as without them I would not have a new filing cabinet for the office!
No comments:
Post a Comment